How to add existing project to a Github repository


The most important thing for me after completing a project is to put it out there on github for the entire world to see. However the process can be a bit challenging for newbies like me. So let me guide you on how can you add an existing project in your github repository
Firstly you need to login to your github account and create a new repository by your project name. And you can also provide a short description of the project as well.
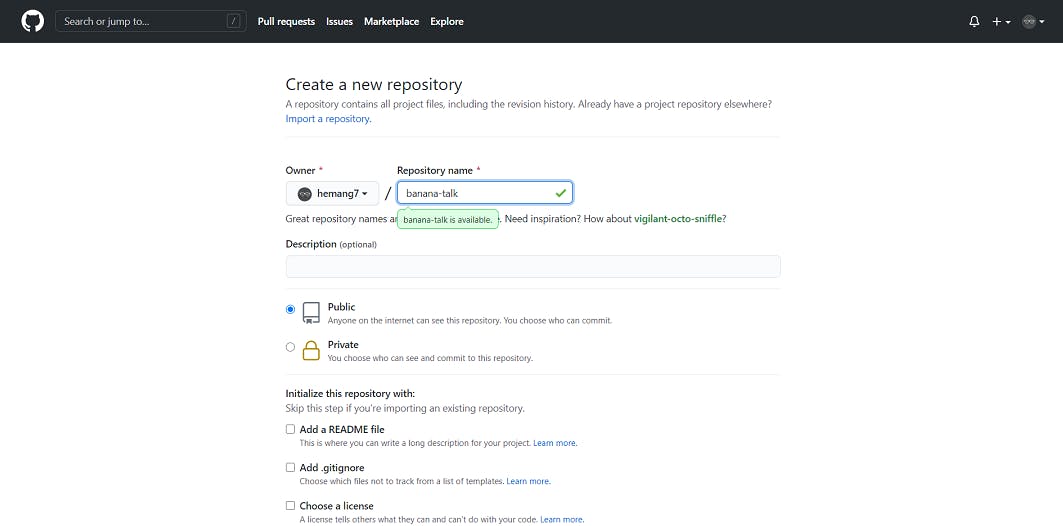
Now click on "Create repository".
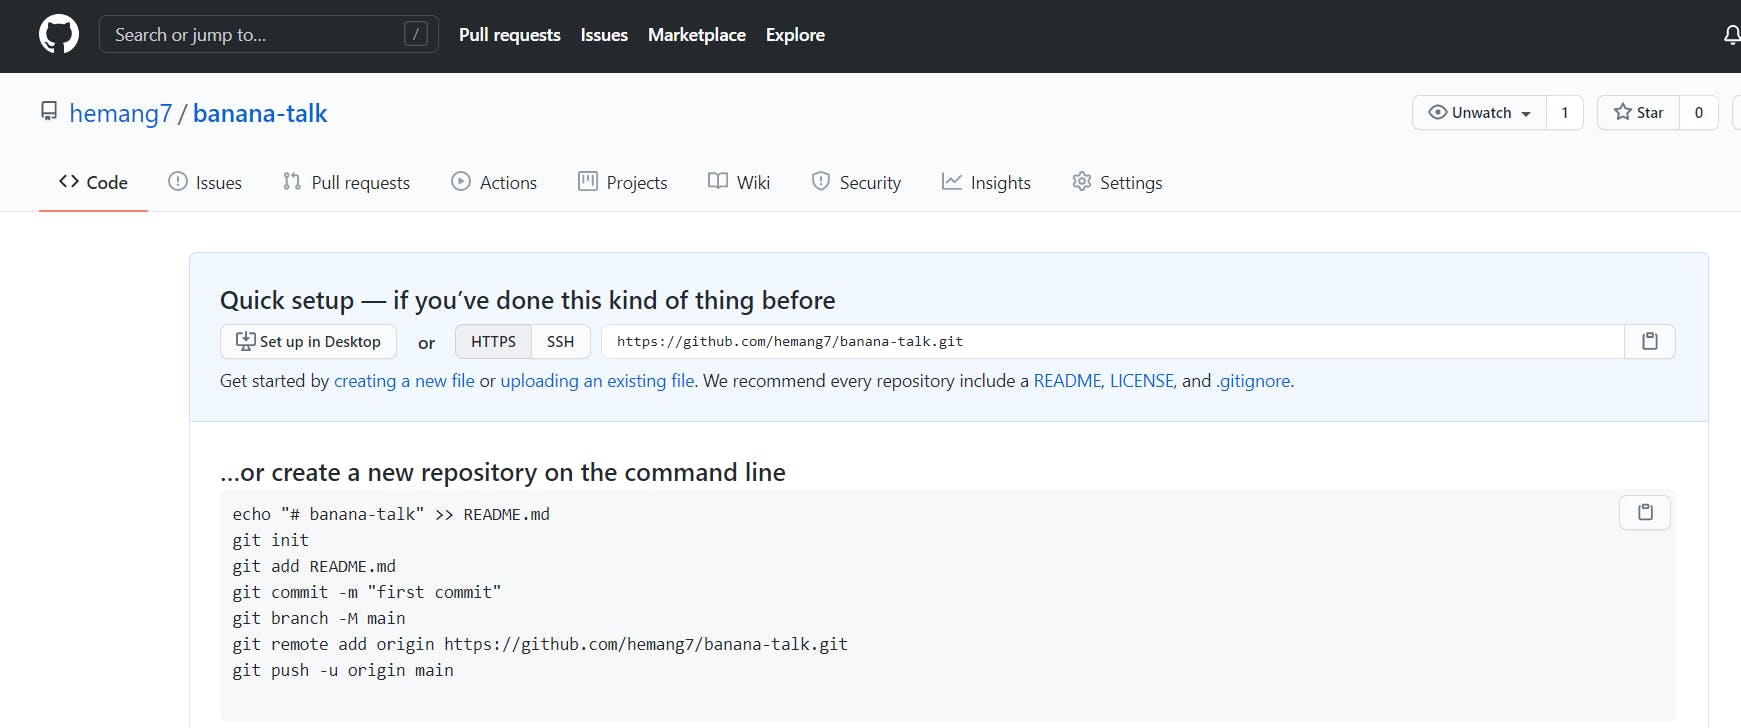
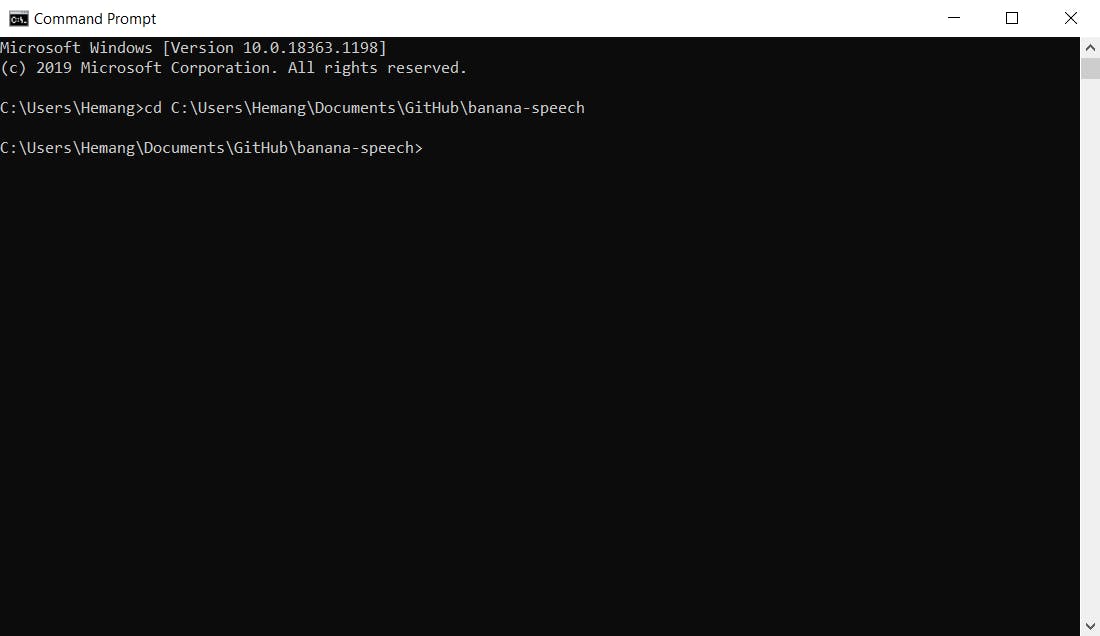
What we need to do next is to configure this empty repository with our local environment. So, the next thing we do is open command line terminal and change the directory to your project directory by typing "cd project directory path".
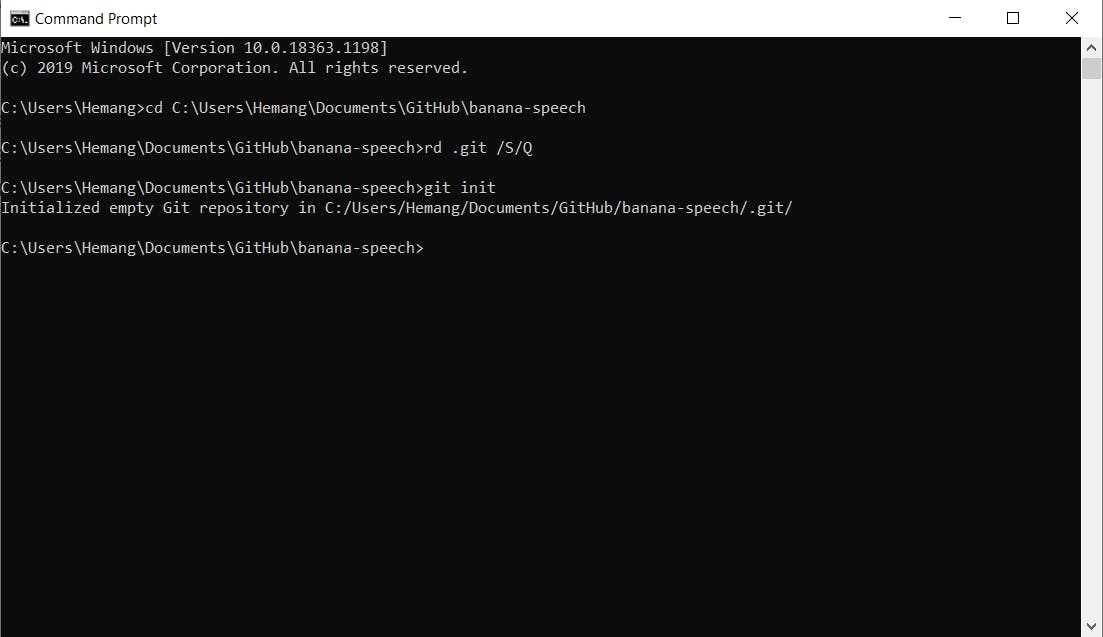
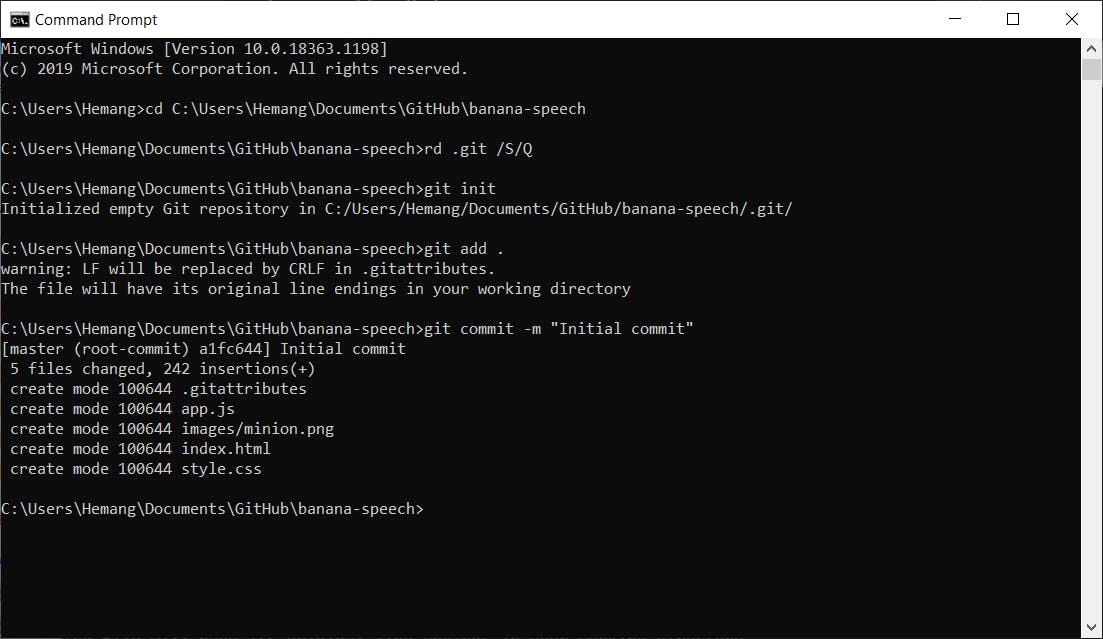
After this the first thing we need to do is remove every git related file in the folder and we achieve that by typing "rd .git /S/Q". Secondly we initiate a new git repository on our local environment by typing "git init".
Now we add everything by typing "git add ."
The next step is to commit these files and we do that by typing "git commit -m "Initial commit" (you can write "first commit" as well if you feel like)
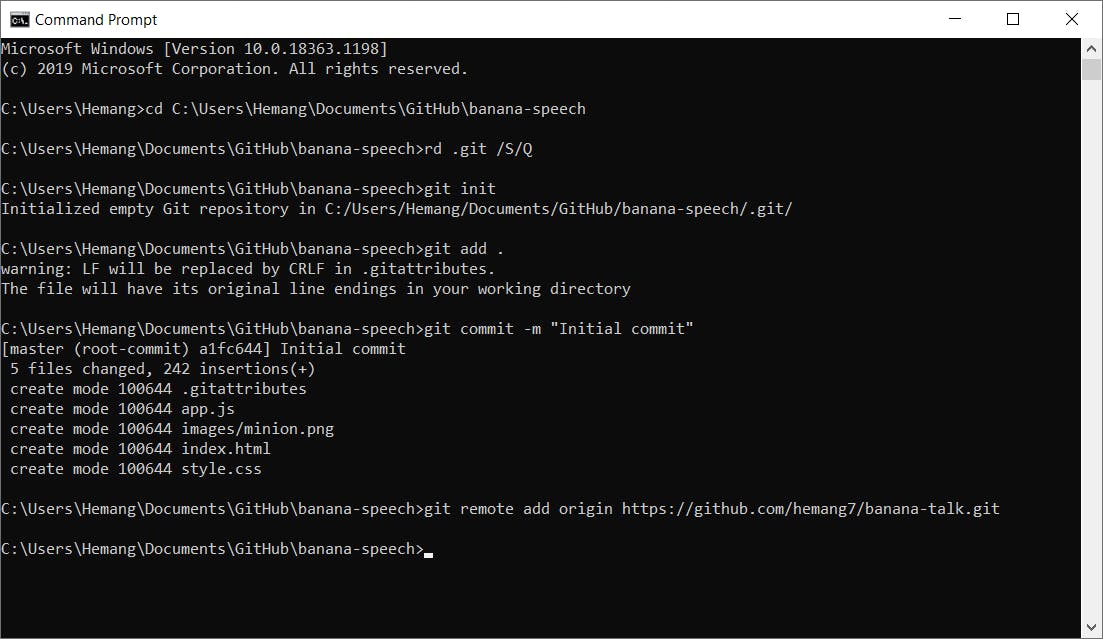
Well so far we've created our Github repository, which is empty for the moment and also our newly created local git repository, now we configure these two with each other. Now to achieve this we type "git remote add origin" followed by your empty Github repository's URL.
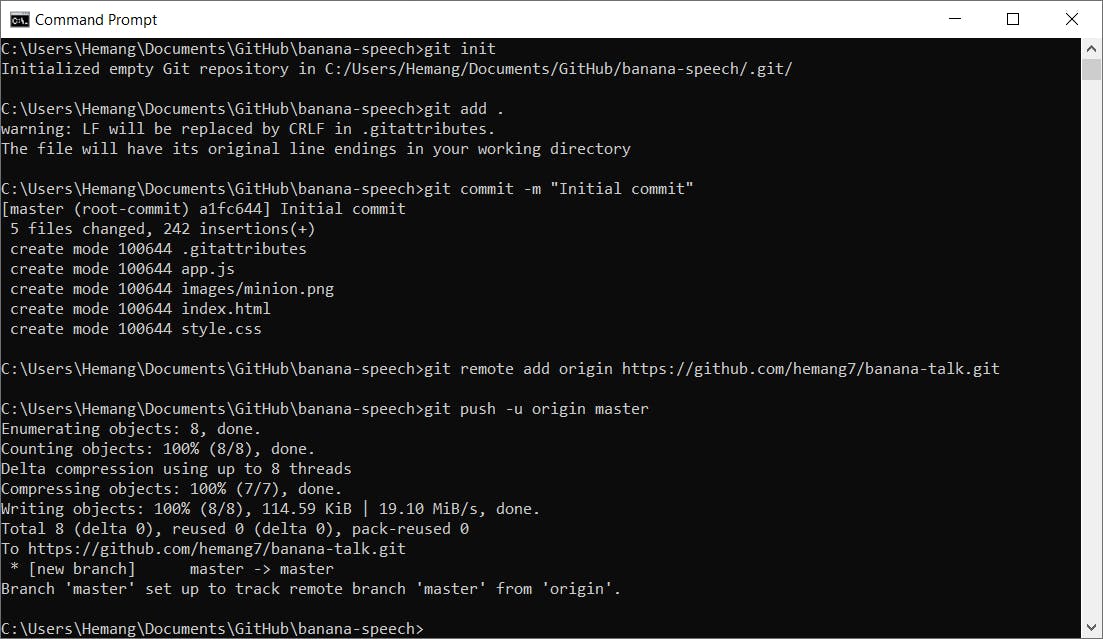
We're done with the configuration and now for the last step we need to push all these changers to our Github repository. For this you type "git push -u origin master"
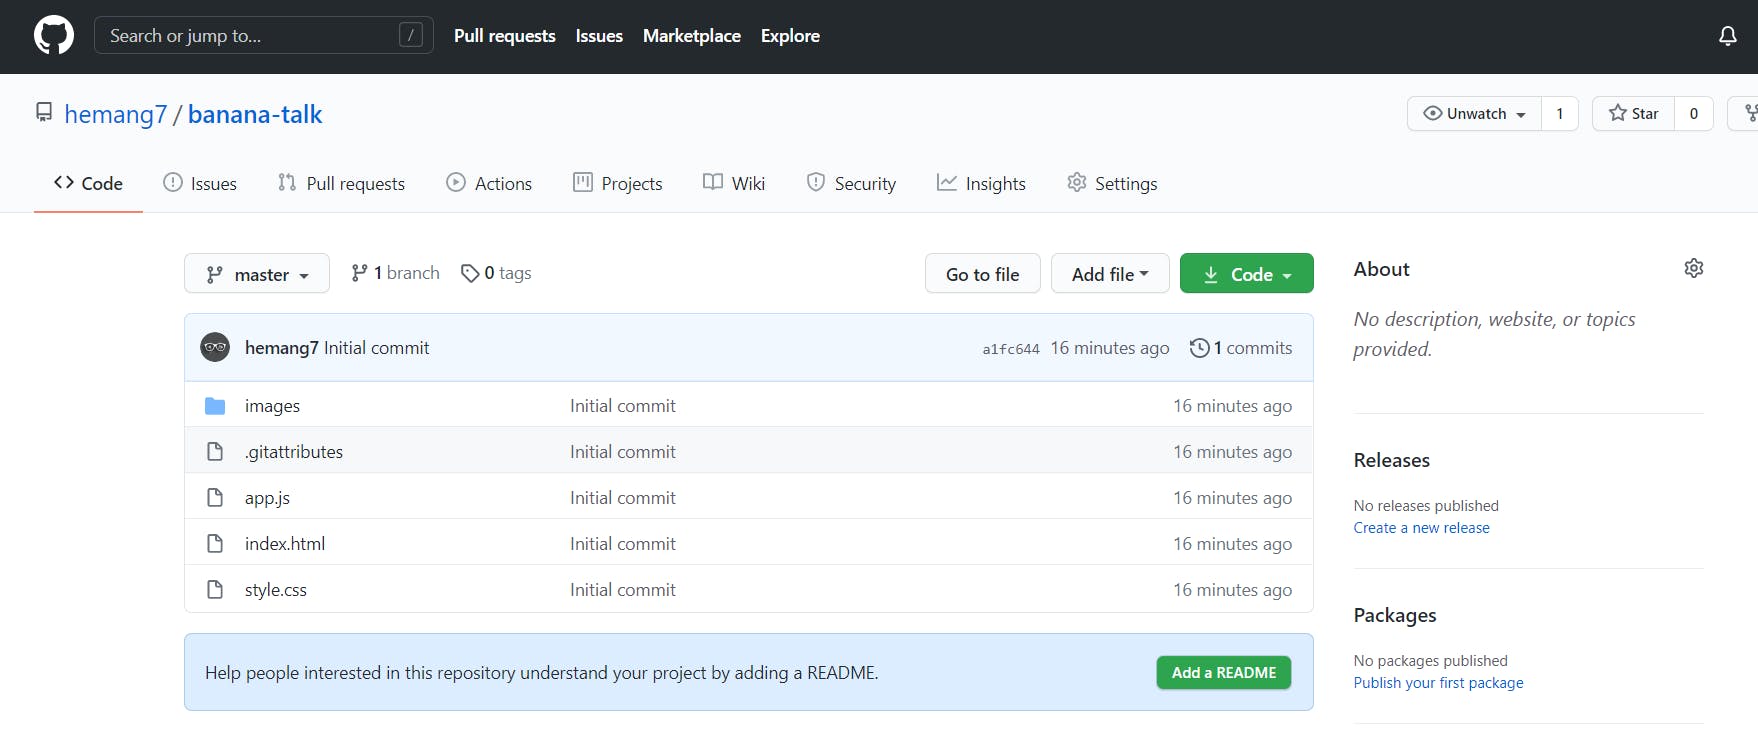
And now if we refresh our browser we'll see that all our files have been pushed successfully.
So, in this simple way you can add any existing project of yours to your Github.